Gel Nail Chipping – This is how to take care of your gel nail
Fixing your gel manicure at home is not such a tough tax. Following few simple steps is just what you need to get it fixed. It’s quite easy to get back the glow in no time. Just know the few basic steps and you’re good to go. No sitting long hours with nail tech or salon activities to learn these steps.
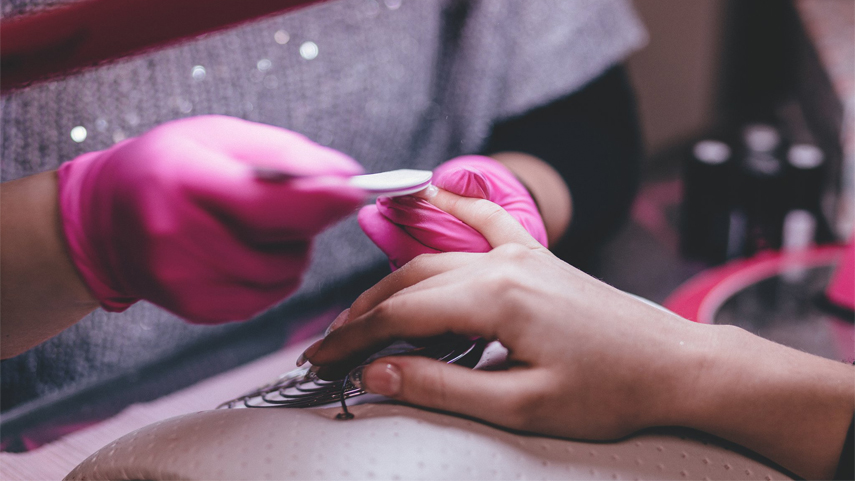
By now we should have known how long the gel nails can last. They are ideal for a long-lasting manicure. A whole two weeks of faultless looking nails is no joke. However, accidents can occur which can lead to chipping. There are even other times due to poor finish, you might notice nail chipping in few days after a manicure. According to Choi, when chipping appears, it is ideal to get buffing. Accessible tools like buffing blocks are what you require for this process. This tool is good for buffing down the edges of the chip. This helps to ensure a smooth interaction between the new layer of polish and the old. The block if effective in smoothing down the surface. This prevents the sharp demarcation between the new polish.
Once the nail is well buffed, the ground is all set to revive your worn-out nails. Are you looking for the steps you need to fix that stubborn chip? Follow the steps listed below:
Steps in Fixing a Chipped Nail
First of all, you need a real good Buffing: When repairing a chipped gel nail polish, start by buffing the whole nail. You can either use a buffing block or a nail file. This action helps to break the bond on the polish created by the top coat. By breaking off this seal, the new polish will adhere better. A real good buff ensures a quality repair.
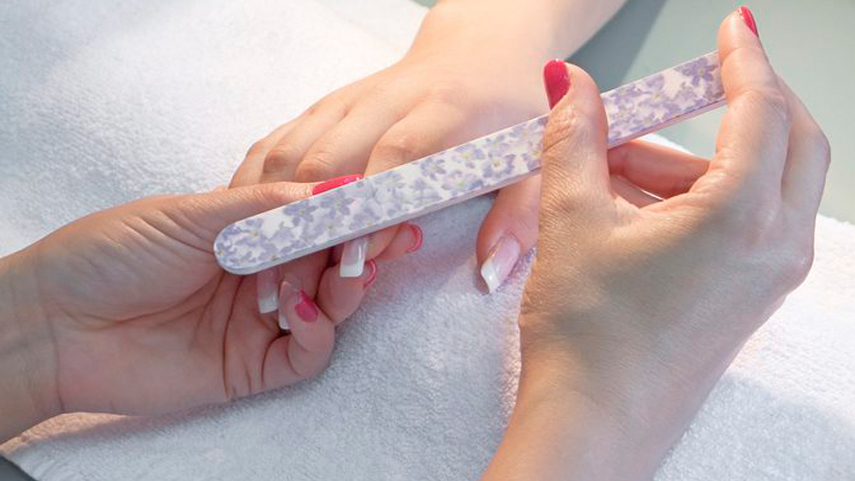
Ensure to level the edges: focus the buffer on the edges of the chip. Creating a smooth and level edge on the chip helps create a level base for the new polish. You don’t want to get a jagged looking nail or do you?
Use a primer on the nail: Just like the normal process, you have to ensure your bare nails have a base coat. This is important for a healthy looking and smooth nails. You can use a primer or a gel bond to ensure long lasting smooth nails. Allow drying for about 30 seconds before moving to the next stage.
Start applying your polish: once the base coat is completely dry, you are all set to start applying your gel. Select a matching color to the old color and begin to apply in thin layers. Working in thin layers is important for creating the most natural looking nails. Ensure each layer dries up completely before applying another layer. This will prevent air bubbles from creating lumps on the newly repaired nail.
Take one more step to make it better: is the gap between the old and new nail still visible? No need to panic, apply a new coat over the entire layer. This helps to create a more uniform finish. This is certainly a sure way to disguise the chip. Your finger will look as good as new.
Use a UV gel top coat to seal the nail, entirely: once the polish is dried, the next step is to apply a top coat. Ensure to cover the entire layer. It helps to protect the nail polish as well as add some shine to the applied gel nails. This makes it appear new once more.
Clean up the excesses: once the top coat is dried, ensure to finish up by cleaning up excesses. This can be done with an alcohol pad or gel cleanser. When the nail is neatly finished, it appears professional. Simple swipes with alcohol pads will get rid of tackiness and ensure a smoother looking nail. This certainly differentiates greatly a pro and an amateur.
Importance of the Gel Nail
- They are the closest to a natural looking nail. It comes with a shiny finish and feels very light.
- They are durable and last for up to 4 weeks before a major change is required. Compared to common nail polish, this is certainly worth it.
- If applied with caution according to prescription, your nails are bound to remain healthy. They strengthen the nails and never hamper their growth process.
- They are cured within a short time under a UV or LED light. You will leave the salon with super dry and polished nails. This makes it easy to carry your fingers without having to protect them from contact.
- Gel nails are very flexible and multipurpose. It has become the best choice for various forms of nail art and French nails. It serves as the best ‘canvas’ to work on.
We love gel nails for so many reasons and will do all to prevent gel nail chipping. For a longer lasting gel nail, stay away from sanitizers. It can cause the top coat to strip. Ensure to use soap and water instead. Dried nails can easily tear and break. Ensure to keep the nails moisturized with cuticle oil. Try as much to stay away from hot water. Extreme heat will cause your manicure to melt away. Apply top coat after few days to help the gel nail polish retain its shine.
Ensure to take care of your cuticles. Do not paint over the nail cuticle, this will cause the nail to age quick. Also, do not cut your cuticles. Just push them back with cuticle stick and moisturizers.
You see, fixing gel nail at home is quite easy. However, whenever you’re in doubt, ensure to contact a dermatologist for more explanation.
Nguồn: Sưu tầm Internet